Showing posts with label Doodle Pantry. Show all posts

Monday, August 31, 2015

Final Doodle Pantry DT Post

It's a sad day for me. This is my final post as a Doodle Pantry Design Team Member.  Things are just a bit crazy right now for me and Laurie gave all of us the option of staying on for another term or "retiring."  Since I wasn't sure I'd be able to fulfill my responsibilities as I'd like, I decided to step down.

But, since you know how much I love Doodle Pantry digital images, this won't be my last project using Doodle Pantry papers or images.


I used flowers from the Joyful Day set.  Printed on vellum, it allows the image and votive light to shine through the lantern.


The shimmery pink cardstock is 12" x 6" ~ I went with 6" tall so it would fit through my die cutting machine.  Each side is scored at 2-7/8" so I had a "tab" at the end.


Score tape all around the openings makes for easy placement of the vellum pieces.


I didn't want the votive to be seen through the "legs" so I created a "ledge" and everything lined up on my first try.  That does not happen very often ... believe me !


I glued (taped) 3 sides before sealing the side of the lantern and the final side of the ledge


Using Doodle Pantry pre-colored images allowed me to finish this project in under 2 hours from start to finish. 


I thought about embellishing the sides and decided to keep the lantern plain and simple. This way the beauty of the digital image shines through ~ pun intended {smile}


Products Used:
Joyful Day

Stampin' Up! Decorative Label Punch
EK Success Scalloped Diamond Slim Border Punch
Die-namics Designer Labels 4
Shimmer Pink Cardstock 12x12
Vellum 8-1/2x11
Scrappy Tape 1/8" wide & 1/4" wide
Battery Powered Tea Light

Friday, August 21, 2015

Bingo Tic-Tac-Toe

I have a project to share with you today that's been in the works for several weeks now.  Not that it's taken me that long to finish it, but life just got in the way and I had to set it aside for a couple weeks.

Most of my cards / paper projects tend to lean toward the "girly" side. So I thought I would change it up and make something for a "boy."  Really now, what boy doesn't love cars, right?  This project was a blast to make.  I didn't take pictures along the way, but I'll try my best to explain how I created this project.

Since Doodle Pantry has LOTS of car images~ I mean LOTS of car images... I couldn't pick just one ... I decided to create a project that used just about ALL of them. Hence, I came up with,

Bingo Tic-Tac-Toe
The object of the game is to cover 3 cars in a row (just like "Tic-Tac-Toe").  However, since each card has a few different cars on them and the same cars are in different locations, it makes it more like "Bingo" but with no "Free Space."


 To make my life easier, I used all pre-colored digis.  I love that you get B&W line art AND color images with each Doodle Pantry set.  It saves a lot of time on a project this big.

Each Card has 9 car images ~ there were 13 to chose from (I only used 1 "Bug" car image) ~ so I mixed up the images on all 4 cards.  Yes, you only see one Card here, the other 3 are just about completed, but I wanted to get this post done.


I used Photo Editing software to create the grid on the digital paper from the Classic Bug & Gas Can set. The grid piece is 4-3/4" square.  The cars were punched with a 1-1/2" square punch. I rounded the corners and sponged the edges to set it off from the background paper. This piece is matted onto Navy cardstock. I'm debating about laminating the Cards, but haven't decided yet.


The "Call" tags (I'm not sure what to call them) have a car image on one side and "What a gas!" sentiment, surrounded by a dotted circle, on the other.  I used a 1-1/2" circle punch for the car image, then sponged the edges. Using my light table, I glued the punched car to the back of the sentiments I had printed on an 8-1/2" x 11" piece of white cardstock.  Then the entire sheet was laminated.  I used a 1-3/4" circle punch to punch out the "Call" tags. Note: Because the car image is a smaller circle, the lamination won't separate.


To play the game, the car image is placed face down and the tags are selected one at a time.  If it matches a car on your card, you cover that image with a:
Marker Tag ~ aka Petroleum Can


I printed a sheet of gas cans, laminated the sheet and used a 1-3/8" circle to punch these out.

I hope you've enjoyed seeing this project as much as I enjoyed creating it.


The Doodle Pantry sets I used:
Classic Cars 1

Classic Cars 2

Classic Cars 3

Classic Clunkers 1

Classic Clunkers 2

Classic Bug & Gas Can

Monday, August 10, 2015

Children's Cards

I was inspired today by three Challenges.  

First inspiration came from Send a Smile 4 Kids and their CAS challenge (all cards must be for children).  I created 4 cards so I can add them to my box of cards  for this group that does so much to brighten a child's day.

 The other inspiration came from two "Anything Goes" Challenges:


I even remembered to take pictures along the way to show you my process in creating these cards.  So, sit back and enjoy.

Since one is a CAS challenge, I thought I'd keep it simple by embossing the cardstock image using this plastic shim:

But, the oval in the shim didn't match the Spellbinder's oval dies I had.  I know I could have made my own "shim," but at the time, that seemed like work.  So I improvised.  I printed the pre-colored image (Doodle pantry Poodles of Fun) 4 up on a page.  Then I cut an oval out of the 4" x 5-1/4" cardstock using the oval die. 


Next, I embossed just the outer piece.

I glued the embossed piece to a white card. Then glued the oval image back where it belonged.

Next, I used the next smaller and next larger ovals (I have both oval sets) to create the "frame."

Using the 3 different sizes of oval dies places the "frame" right over the center cut line...so you don't have to worry about seeing an embossed or cut edge. 
The sentiment is a personal creation and I've included it for download at the end of this post.   

These images are just too doggone cute. What child wouldn't love to have a Poodle card? 


Click on the image below, then right click to save the white background, png file.


Products used:
Poodles of fun
~Petite Ovals Large and Small Spellbinders Dies
~Stampin' Up! Large Oval and Scalloped Oval Punches
~Embossing Folders~Wired Fence and Dots
~Memento Lilac Posies Ink
~Stampin' Up! Calypso Coral Ink

Sunday, August 2, 2015

Christmas Card Challenges #35

This week is a Color Challenge at Christmas Card Challenges. We'd love it if you played along using the colors, however the only real requirement is to make a Christmas card.  You'll thank me in a few months for pushing you to make a card each week. 


Once again I dug into my many scrap boxes to find the pieces for this card. Everything was punched, embossed, cut or printed ... making this a quick card.  I did sponge some blue onto the decorative piece and sentiment just to add a bit more color.  The Scrapper's Delight Little Snow Angel was even printed and cut out; as was the sentiment from Doodle Pantry.

Check out what the other Design Team Members created this week by clicking on the image below.  I can't wait to see what you create this week.


Friday, July 31, 2015

Scrap Box Card

I have 4 scrap boxes full of pieces cut, printed, colored, stamped ... you name it, it's probably in there.  So I decided to make a card using only items from these boxes.  At some point, they either have to get used or get tossed and since I can't bring myself to toss any craft items ... I guess I better get busy using them up.


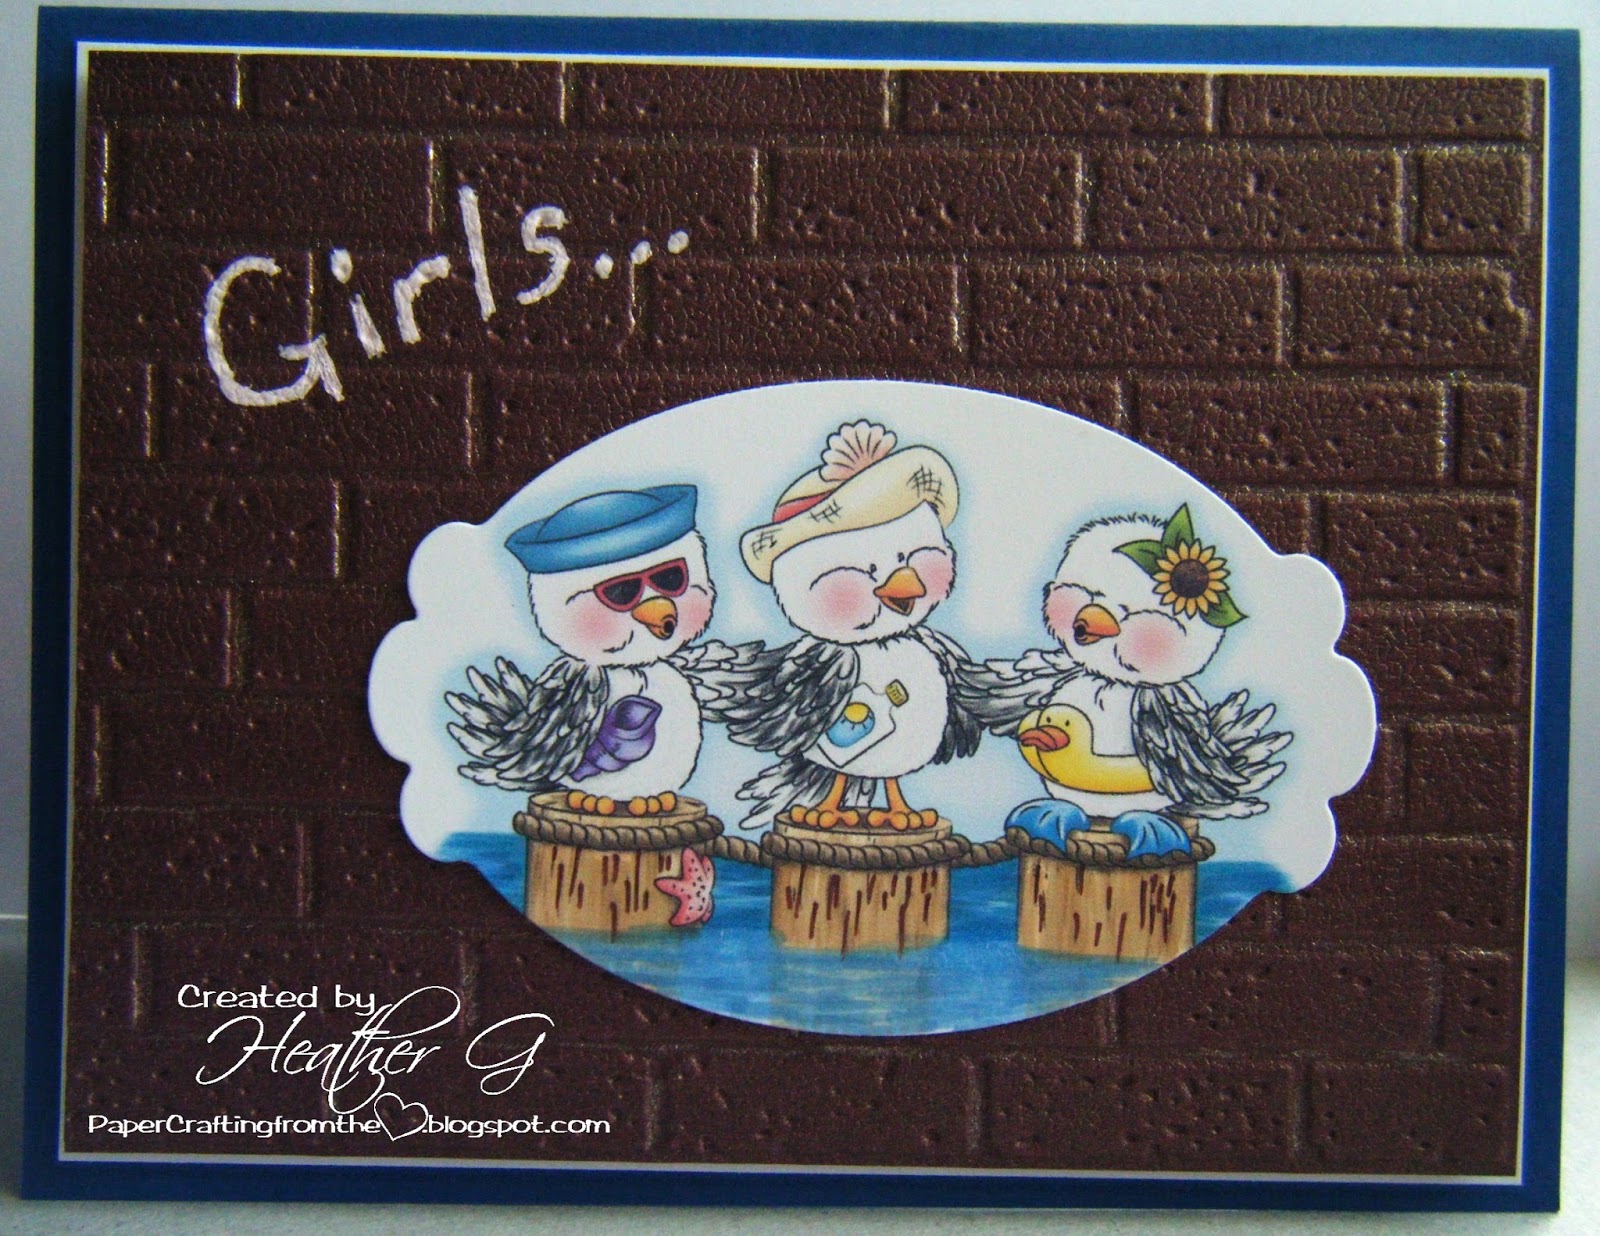
The blue and white cardstock pieces were already cut to the right size ~ how often does THAT happen, right?  I also found the embossed the brick piece, although I don't remember what I was going to use it for originally.


The digi is from Doodle Pantry ~ Summer Song Birdies.  The pre-colored printed image and sentiment were in my "box."  Once I die-cut the image, I felt I had to add water to the bottom of the picture. Using Copics, I first extended the pylons, then added blue for the water.  The blue was light enough that you can actually see the extended pylons.  So, I'd love to say I planned it that way ... but I didn't.  It looks like a reflection in the water (looks real good in person), which just "happened."

I wrote "Girls..." in white marker pen hoping it would look like graffiti. I guess you never have to worry about me defacing a building, since my attempt at graffiti is nothing spectacular.


Everything on this card were pieces left over from other projects, or projects that never got started. And while I used a lot of "pieces," the boxes are still full.  I guess I'd better get to making a few more cards.


Friday, July 17, 2015

Happy Birthday Little Princess

I just love this little dinosaur from the Doodle Pantry Kids Toys Set.  I merged the crown and dinosaur together, printed a "lighter" version, colored it with Copics and added Glossy Accents to the crown jewels, the eyes and white spots.  A little bit of rhinestone bling and ribbon finishes the card.


The inside sentiment is a personal creation. I've included it at the end as a Freebie ~ my gift to you. 

If you save it, please leave me a comment.  If you use it, please link back to my blog (who doesn't love a "shout out" every now and then).  I'd also love to see your creation with this sentiment, so please leave the link to the specific blog post on any of my posts~I realize it may be hard to find this particular post.  


I'm linking this card to Send A Smile 4 Kids Challenge (Bright Colors). Now, I realize this may not look bright, but the card base is actually a beautiful bright purple color. One of these days I will learn the secret to photographing purple.


To save the Free Sentiment: click on the image above, then right mouse click to save it to your computer.


Kid Toys


Sunday, July 12, 2015

Welcome to the Neighborhood

I thoroughly enjoyed my recent vacation. However, I found it hard to get started crafting again once I got home. Between laundry, appointments, meetings and I'm not sure what, I just couldn't find the time.  

But today was the perfect day . . . it's raining outside, hubby is watching golf, so I locked myself in my craft room and ~ Crafted.


The digi and sentiment are from Doodle Pantry's Old Italian Street Color Plus and I actually hand colored this one ~ although the pre-colored digi looks fantastic also.  I printed the image on vellum and colored it on the reverse side using Stampin' Up! markers.

I cut a frame, rather than a mat, for the image so I could glue the vellum down. The DSP is from the sale bin at Tuesday Morning and I cut it on the diagonal.

Monday, June 22, 2015

Doodle Pantry ~ Patriotic Items

I love the 4th of July. When we lived in Michigan we would host a huge 4th of July party every year. Relatives from my mom & dad's side along with my husband's family (about 40+ people) would come for the day/evening. Lunch, dinner, snacks, dessert, swimming, boating, fishing ... and then the fireworks. We lived on a lake and shot off our own fireworks along with several other homes. The fireworks seemed to get bigger and better every year.  Competition was fierce, which side of the lake had the bigger/better fireworks? ... It all made the day very memorable.

Now that we're in Florida, we still enjoy a yearly party that includes lots of food and games with friends instead of family ... and no fireworks ~ unless we drive to the city park...which we've done.

What do you do for the 4th of July?  Since it's a bit away yet, why not stop by the Doodle Pantry store and pick up a few Patriotic sets for your holiday invites and decorations.  There's still time to enter the Ants In My Pantry Digital Challenge #6 if you use a digital image on your project (although we'd love for you to use a Doodle Pantry image).

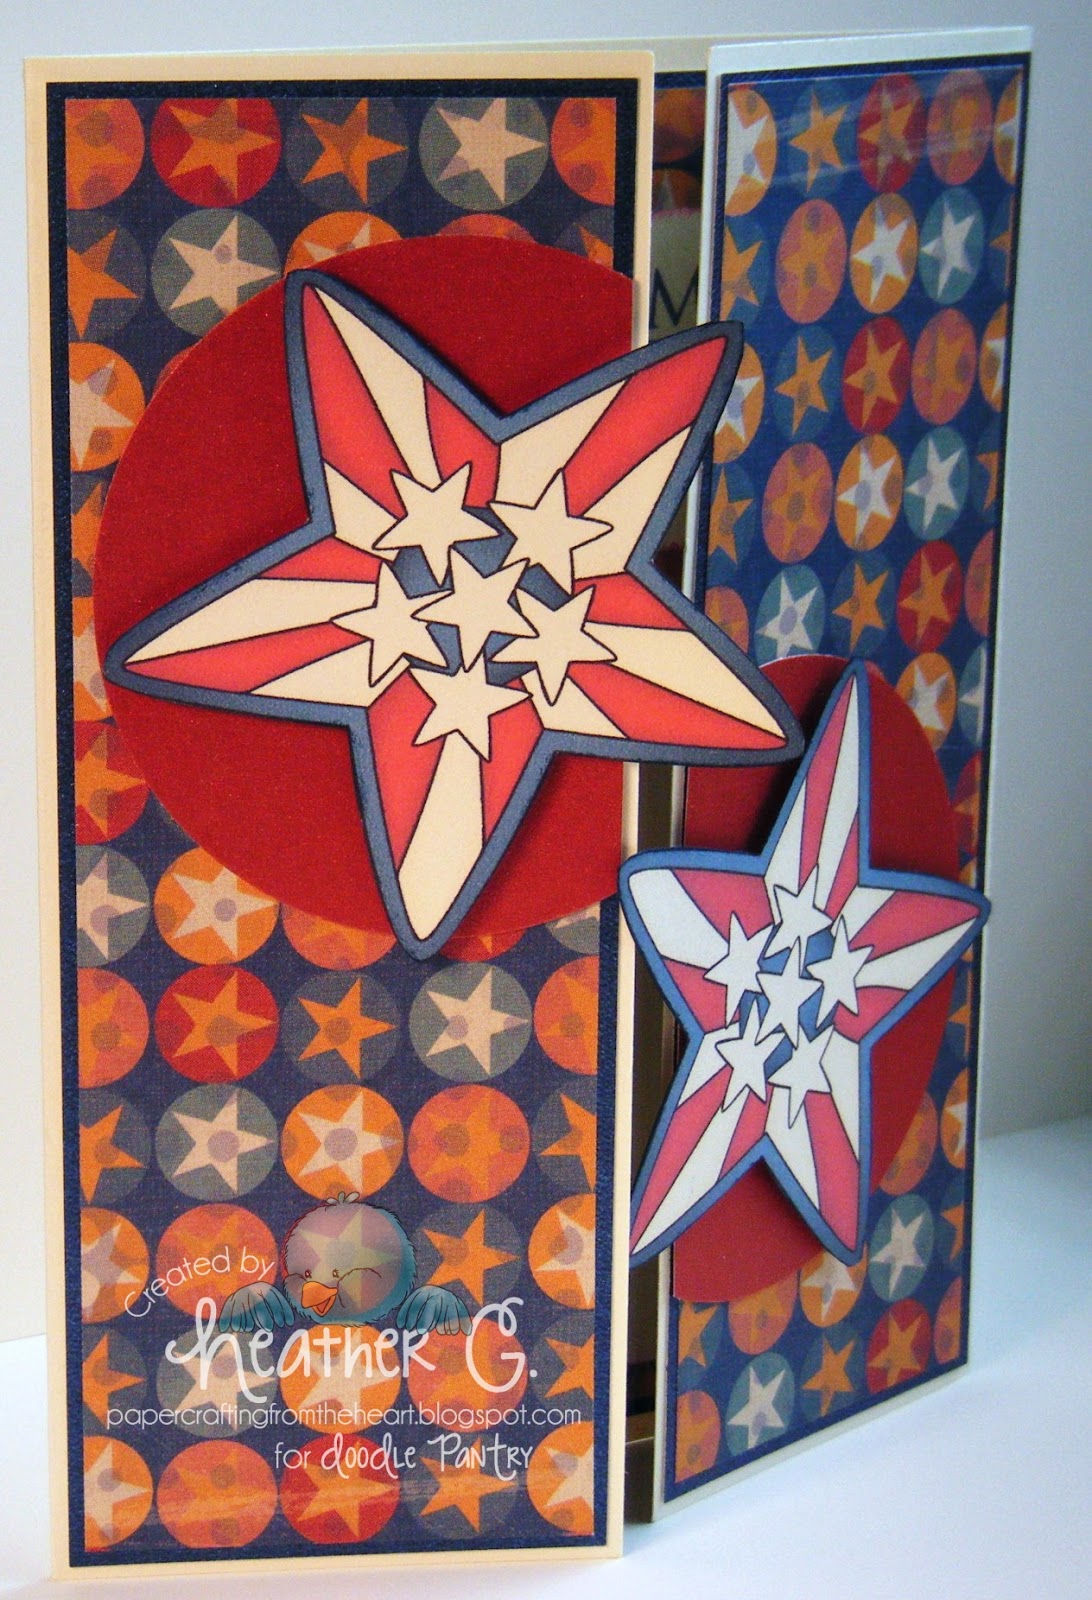
I used USA Star for my card.  The DSP is from my stash.


The sentiment is from Patriotic Sheep


USA Star  Patriotic Sheep COLOR plus